Botanical Dyes: Creating Custom Stains from Garden Waste
The Forgotten Palette: Rediscovering Color in Garden Waste
For centuries, botanical dyes have woven their way into human history, long before synthetic pigments dominated the market. What if the key to reviving this ancient art lies not in exotic plants but in the wilted petals, fallen leaves, and discarded peels hiding in your garden? Botanical dyeing transforms what’s deemed "waste" into a spectrum of hues, connecting us to a sustainable creative practice. Imagine turning onion skins into golden yellows, avocado pits into blush pinks, or carrot tops into earthy greens. This process isn’t just about color—it’s about redefining waste as a resource and embracing impermanence as beauty.
From Compost to Color: Selecting the Right Plant Materials
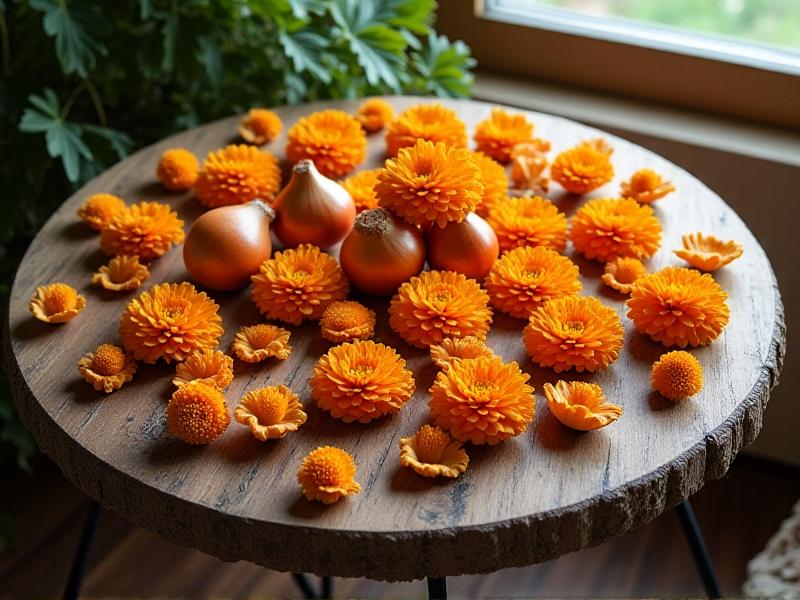
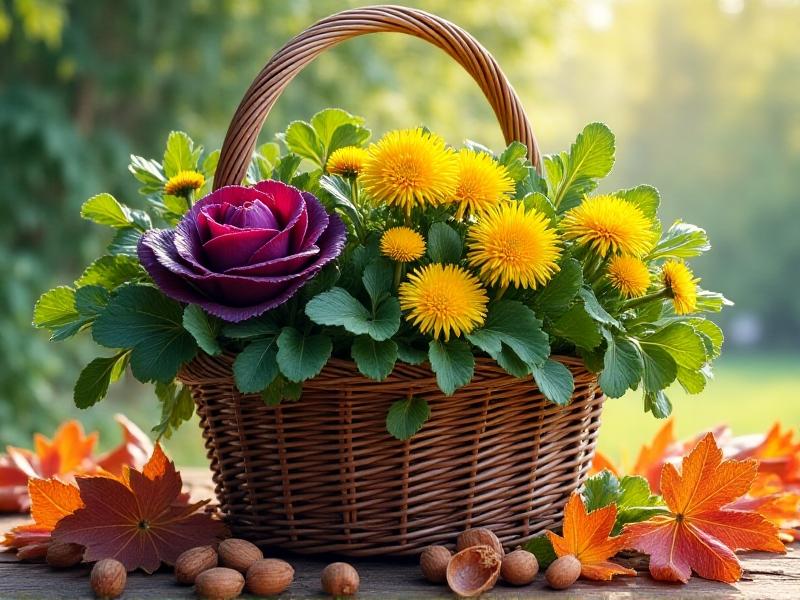
Not all garden waste is created equal in the dye pot. Pigment-rich materials often lurk in unexpected places: wilted flower heads, fallen walnut hulls, or even weeds like dandelions. For bold reds, consider madder root or beet scraps; for deep indigos, Japanese indigo leaves or red cabbage. Autumn leaves yield rusty oranges, while carrot tops offer muted sage. Timing matters—harvest marigolds at peak bloom for intense yellows, or collect onion skins over months for a concentrated gold. Avoid overly woody stems, as they require longer processing. Pro tip: Keep a dye journal to track which plants thrive in your local soil and climate.
Preparing Your Botanical Bounty: Cleaning and Processing
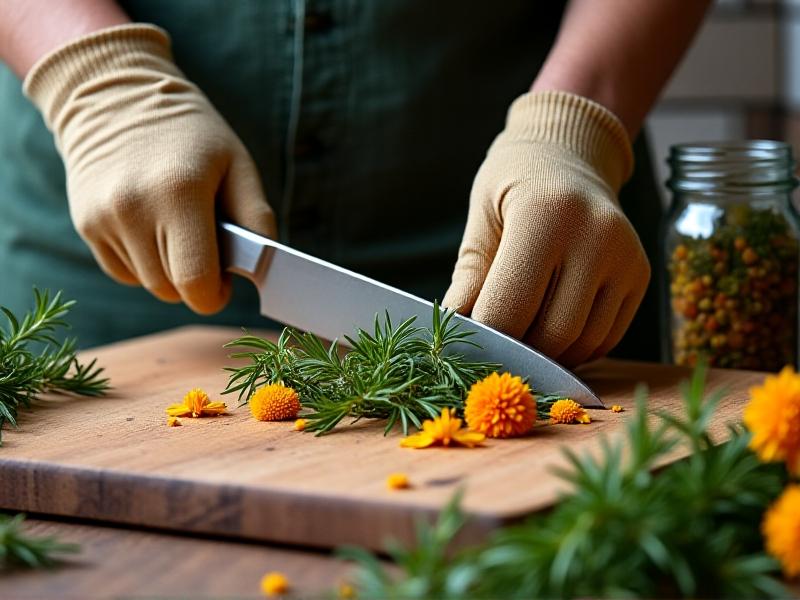
Before simmering your findings, proper preparation ensures vibrant results. Rinse soil off roots, remove insects from flower heads, and chop tough materials like beet stems into uniform pieces. Dry fragile petals on screens to preserve pigments. For hardier items like walnut hulls, a 24-hour water soak softens fibers. Freeze berry scraps in ice cube trays for later use—a trick to stockpile seasonal colors. Remember: Dye potency varies with freshness. Rose petals may fade if dried too long, while onion skins intensify over time. Store prepared materials in labeled glass jars away from sunlight, creating a pantry of potential hues.
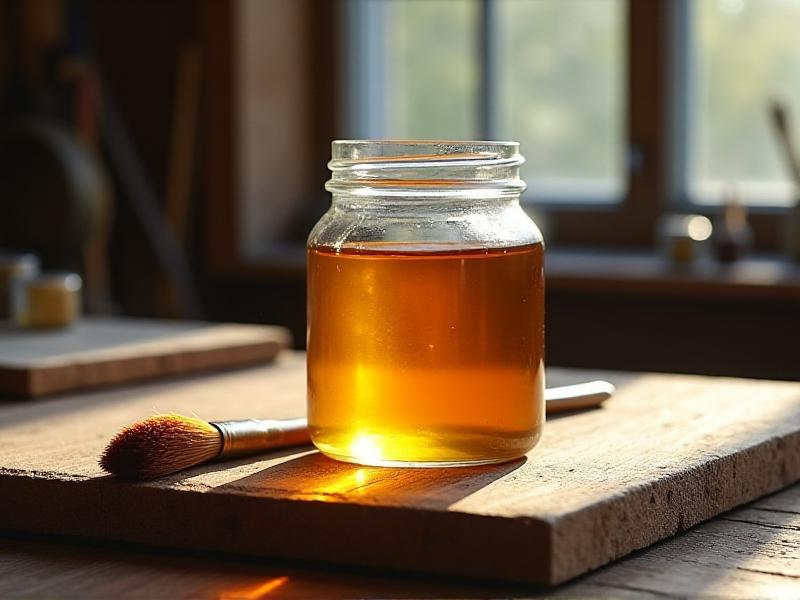
Brewing the Perfect Potion: Extraction Techniques
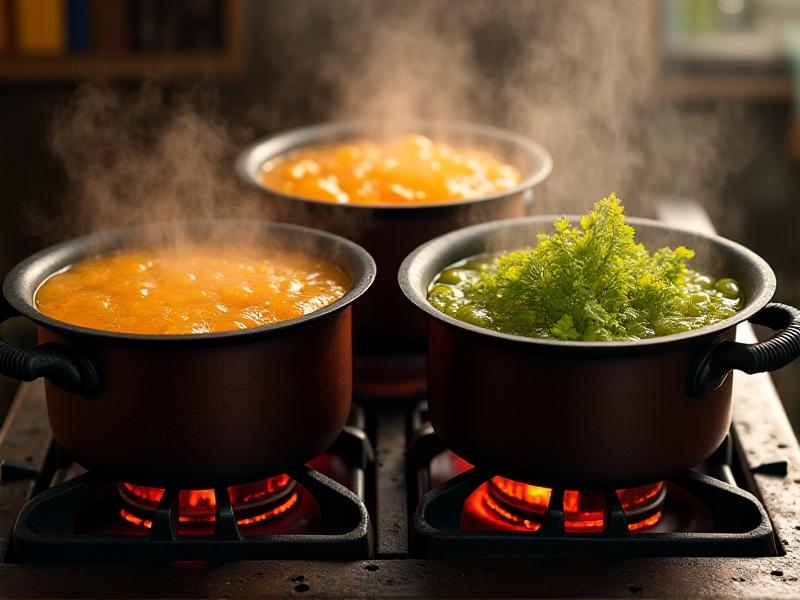
Transform garden scraps into liquid gold through controlled simmering. Use a stainless steel or enamel pot—avoid aluminum, which alters colors. Cover plant matter with water, bring to a gentle boil, then reduce to a simmer. Steep marigolds for 30 minutes; boil walnut hulls for two hours. Strain through cheesecloth, squeezing every drop. For richer tones, reuse the same plants in multiple batches. Pro tip: Adjust pH with vinegar (acidic) or baking soda (alkaline) to shift colors. Avocado pits boiled with iron water (rusty nails soaked in vinegar) create deep coral instead of pale pink. Experimentation is key—no two dye baths behave exactly alike.
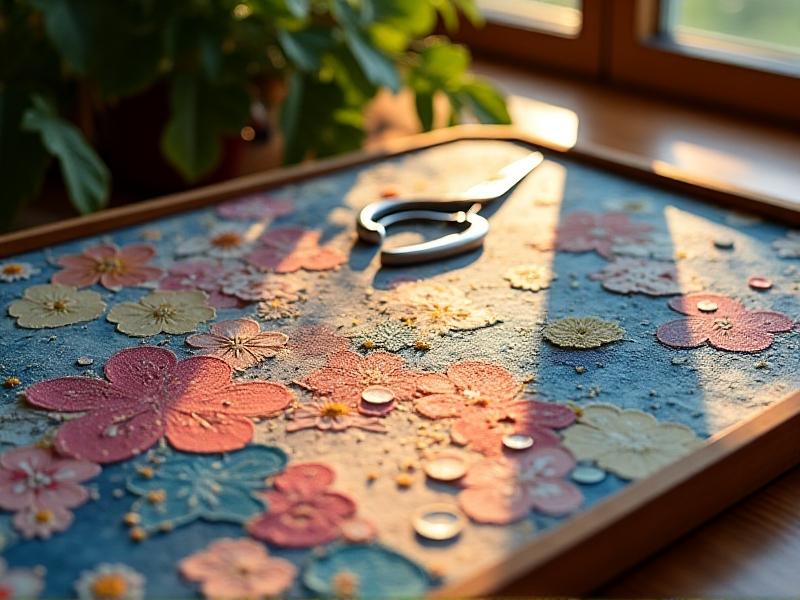
Fabric as Canvas: Preparing and Applying Dyes
Natural fibers like cotton, silk, and wool absorb botanical dyes best. Prewash fabric to remove finishes, then soak in a mordant solution (see next section). For subtle patterns, bundle flowers into cloth with string before dyeing. Dip fabric fully for solid colors or paint with brushes for watercolor effects. Layer dyes—first a turmeric yellow, then an indigo dip for green. After dyeing, air-dry away from direct sun to prevent fading. Notice how wet fabric appears darker; colors lighten by 20-30% when dry. For texture, press leaves onto damp cloth during drying—a botanical fingerprint.
The Magic of Mordants: Fixing Colors Naturally
Mordants bind dyes to fibers, preventing wash-out. Aluminum acetate (for cellulose fibers) and alum (for protein fibers) are common, but garden alternatives exist. Try rhubarb leaf tannins for cotton or iron-rich rust water for wool. Soy milk acts as a plant-based binder—soak fabric before dyeing. Safety first: Wear gloves and mask when handling powdered mordants. Proportions matter: Too little mordant weakens color; too much stiffens fabric. Experiment with pre-mordanting (treating before dyeing) versus post-mordanting (after dyeing) to alter hues. Iron darkens colors, while tin brightens—a walnut brown becomes charcoal with an iron after-bath.
When Colors Misbehave: Troubleshooting Common Issues
Botanical dyeing embraces unpredictability, but some fixes help. Fading? Try a longer mordant soak or add a dash of citric acid. Muddy tones? Separate dye batches by plant type—mixing marigolds and spinach mid-process often dulls both. Uneven color? Stir fabric constantly during dyeing. If colors appear too pale, concentrate the dye by simmering longer or using less water. For accidental stains, spot-treat with lemon juice and sunlight. Remember: Natural dyes evolve over time—a peach hue may mellow into cream, which some dyers cherish as a living finish.
Beyond Sustainability: The Deeper Impact of Botanical Dyes
While eco-friendly appeals draw many to botanical dyes, the practice fosters deeper connections. It challenges our pace—simmering a dye bath can’t be rushed—and reacquaints us with seasonal cycles. Dye gardens become ecosystems: Nettle patches host butterflies, and fallen leaves feed soil. Communities revive heritage techniques, like Japan’s aizome (indigo dyeing) or Andean cochineal farming. By valuing impermanent, locally sourced colors, we counter fast fashion’s waste. Each dyed textile carries a story: the summer roses, the autumn walnuts, the winter citrus.
Your First Botanical Dye Project: A Seasonal Herbarium
Ready to start? Create a seasonal herbarium on fabric. Collect local weeds, kitchen scraps, and fallen foliage. Dye cotton swatches using each plant, then stitch them into a booklet with notes on collection dates and techniques. Leave space to add future finds. This living document becomes a tactile archive of your garden’s chromatic potential—and a reminder that beauty often hides in plain sight.