Decoupage Mastery: Pattern Integration for Statement Pieces
The Art of Decoupage: Foundations for Pattern Integration
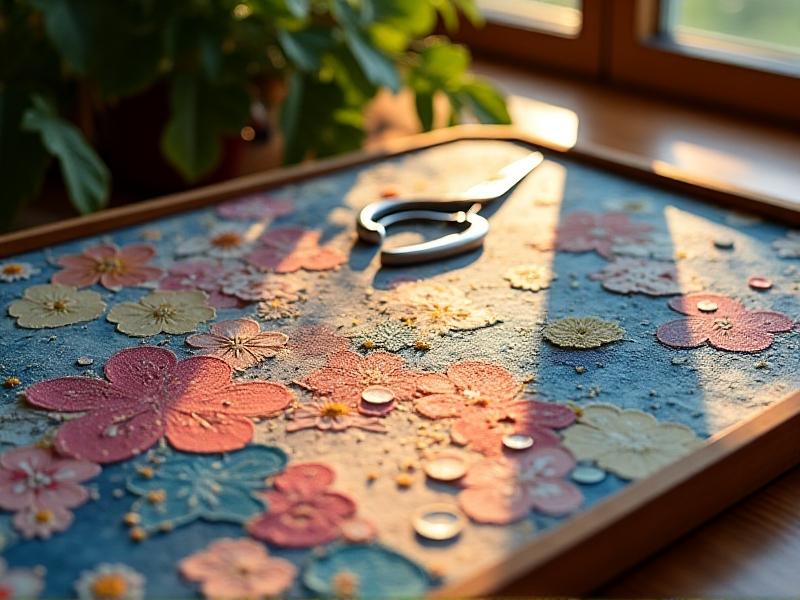
Decoupage, the centuries-old craft of layering paper cutouts onto surfaces, transforms ordinary objects into extraordinary works of art. At its core, pattern integration is about more than glue and scissors—it’s a dance between vision and technique. To begin, gather essentials: high-quality decoupage glue, a variety of patterned papers (think florals, geometrics, or vintage prints), a soft brush, and a base object like a wooden tray or ceramic vase. Preparation is key. Sand your surface smooth, prime it with a neutral base coat, and let your imagination guide your pattern selection. Start with smaller projects to practice aligning motifs and blending edges seamlessly. Remember, decoupage thrives on patience; each layer must dry thoroughly before adding the next. This foundational stage sets the tone for creating pieces that don’t just catch the eye but tell a story.
Choosing Patterns That Speak: Themes and Contrast in Design
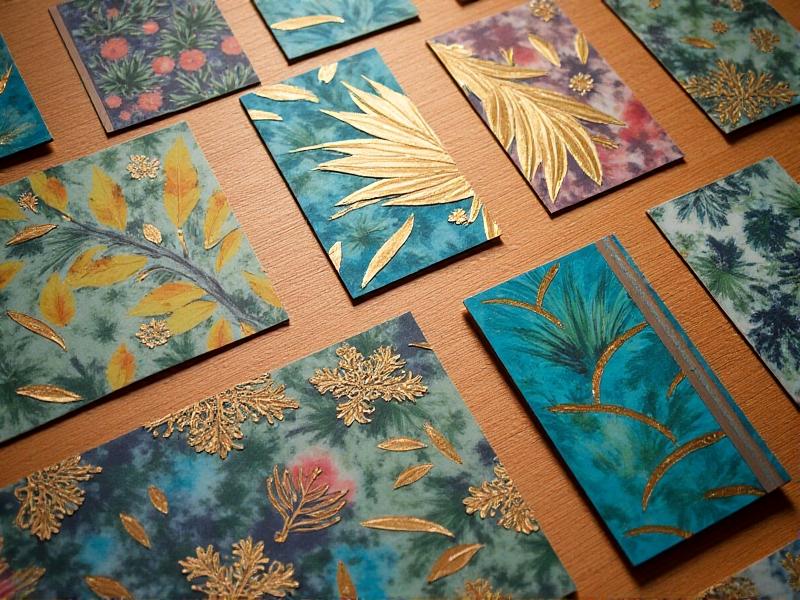
Selecting patterns is akin to curating a visual symphony. Begin by defining a theme—bohemian, minimalist, or retro, for instance—to anchor your choices. Contrast is your ally: pair bold, large-scale florals with delicate stripes, or juxtapose metallic accents against matte backgrounds. Consider color harmony; a cohesive palette ties disparate patterns together. For a coastal-themed box, blend nautical maps with subtle wave motifs in blues and creams. Don’t shy away from experimentation. Test combinations by laying cutouts on your surface before gluing. Notice how a vintage botanical print might soften the rigidity of geometric lines. The goal is to create dialogue between patterns, where each element enhances the others without competing for attention. This thoughtful curation turns mere decoration into narrative.
Layering Techniques: Depth and Dimension in Decoupage
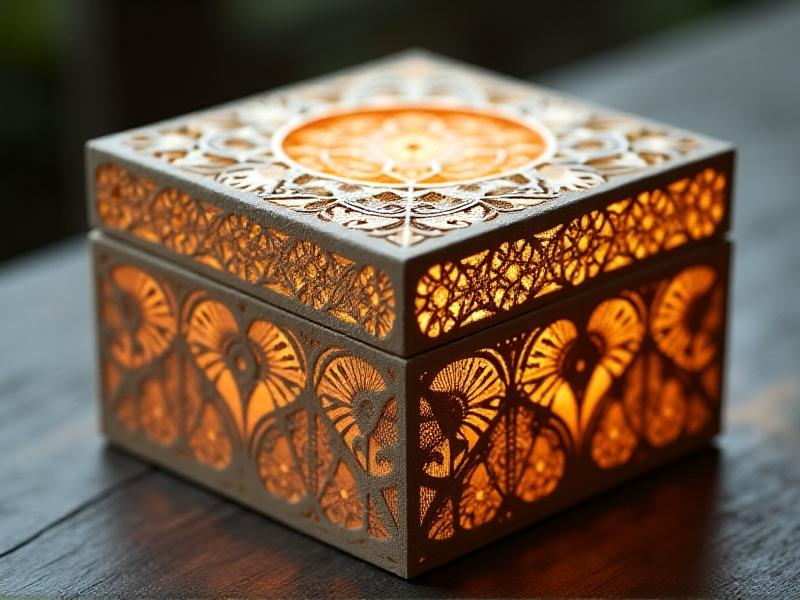
Mastering layers elevates decoupage from flat collage to tactile art. Start with a background pattern, such as a subtle text or damask, to establish depth. Overlay larger motifs, trimming edges to follow the object’s contours. Use translucent papers or tissue for shadow effects—a ghosted floral beneath a bold bloom adds intrigue. Experiment with tearing instead of cutting for organic edges that blend naturally. Intermediate sealing with matte varnish can create a canvas-like texture, allowing subsequent layers to pop. For 3D effects, strategically raise elements with foam dots. Imagine a jewelry box where a raised Art Deco design casts delicate shadows over a metallic underlayer. Each layer should feel intentional, building toward a composition that invites the viewer to look closer.
Crafting Statement Pieces: Bold Choices for Maximum Impact
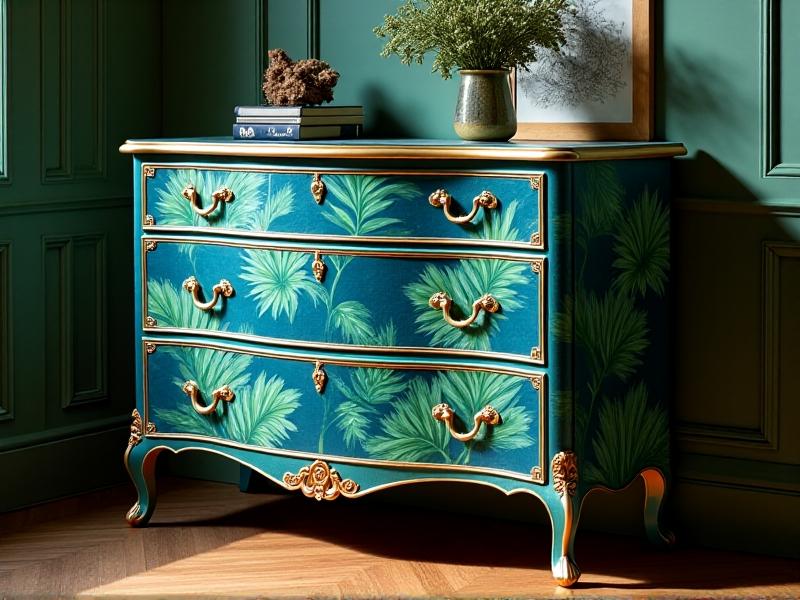
Statement pieces demand audacity. Think oversized furniture or architectural salvage—a dresser adorned with cascading peonies or a mirror frame wrapped in Baroque-inspired scrolls. Scale matters: enlarge patterns digitally to fit expansive surfaces, ensuring motifs don’t become repetitive. Metallic leafing or hand-painted details can amplify drama. For a gallery-worthy console table, pair a bold Chinoiserie scene with lacquered finishes. Embrace asymmetry; a single large-scale motif placed off-center can create dynamic tension. These pieces thrive on unexpected pairings, like Victorian cameos against neon abstracts, challenging traditional decoupage norms while commanding attention.
Balancing Act: Harmony in Mixed Patterns and Textures
Mixing patterns without chaos requires a conductor’s precision. Anchor busy designs with solid zones or neutral tones—a polka-dotted vase base might transition into a calm, monochromatic neck. Use texture as a mediator: a burlap-covered journal paired with delicate sheet music cutouts balances rustic and refined. The 60-30-10 rule helps: 60% dominant pattern, 30% secondary, 10% accent. For a lampshade, combine a large floral (60%), a small check (30%), and metallic dots (10%). Spacing is crucial; allow breathing room between intense patterns. This strategic balance lets each element shine while fostering unity.
Protecting Your Vision: Sealing and Preserving Decoupage Art
Preservation ensures longevity. Begin with a gloss varnish for rich color saturation, followed by matte layers to reduce glare. For high-traffic items like tabletops, opt for polyurethane or epoxy resin. Apply thin, even coats using a foam brush to prevent streaks. Sand lightly between layers for a glass-like finish. UV-resistant sprays protect against fading—a must for sunlit rooms. Consider archival-quality materials for heirloom pieces. A well-sealed work isn’t just protected; it becomes a testament to craftsmanship, enduring as both functional object and art.