Stripped Screw Salvation: Genius Repair Hacks for Old Furniture
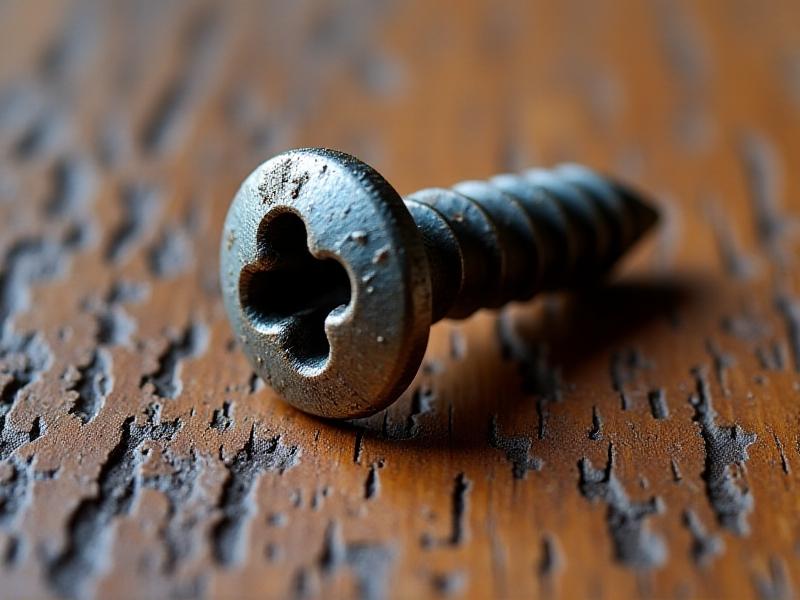
Understanding the Stripped Screw Problem
Stripped screws are the bane of furniture restoration. Over time, repeated tightening, corrosion, or improper tool use can wear down the screw head’s grooves, making it impossible to grip with a standard screwdriver. In antique furniture, this issue is compounded by aged metal and wood shrinkage. The first step to salvation is diagnosing the severity of the strip: is the head partially intact, completely rounded, or buried beneath layers of paint? Identifying the screw type—slotted, Phillips, or square—also dictates your repair strategy. Patience is key; rushing can worsen the damage.
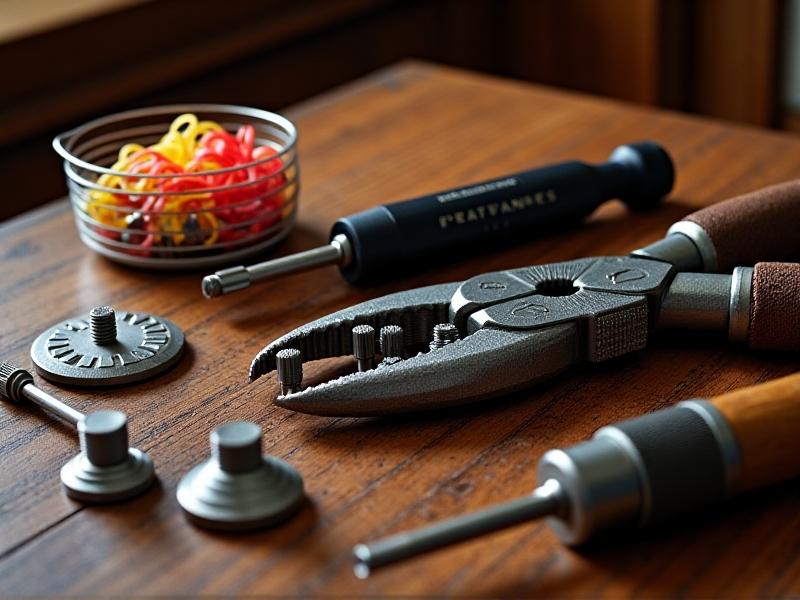
Essential Tools for Stripped Screw Extraction
Before diving into repair hacks, assemble a toolkit tailored for stripped screws. Rubber bands or steel wool can add grip between the screwdriver and head. Locking pliers or vise grips provide leverage for stubborn screws. For deeply embedded offenders, a manual screw extractor—a reverse-threaded drill bit—is invaluable. Don’t overlook household items: a flathead screwdriver slightly larger than the stripped slot might catch residual edges. Pro tip: Keep a rotary tool with a cutting wheel on hand to carve new grooves if needed.
Step-by-Step Extraction Techniques
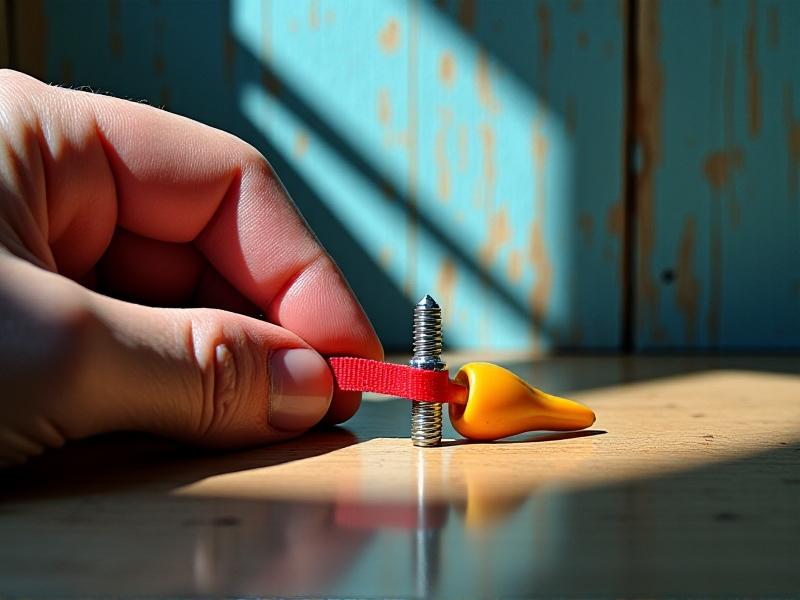
The Rubber Band Method: Place a wide rubber band over the stripped head, then press firmly with a screwdriver. The rubber fills gaps, creating temporary traction. Pliers and Persuasion: Grip the screw’s sides with locking pliers; twist counterclockwise while wiggling upward. Screw Extractors: Drill a small pilot hole into the screw, insert the extractor, and turn slowly. For screws flush with the wood, use a hammer and punch to create a starter notch. Always apply penetrating oil (e.g., PB Blaster) to loosen rusted threads.
Preventing Future Stripping
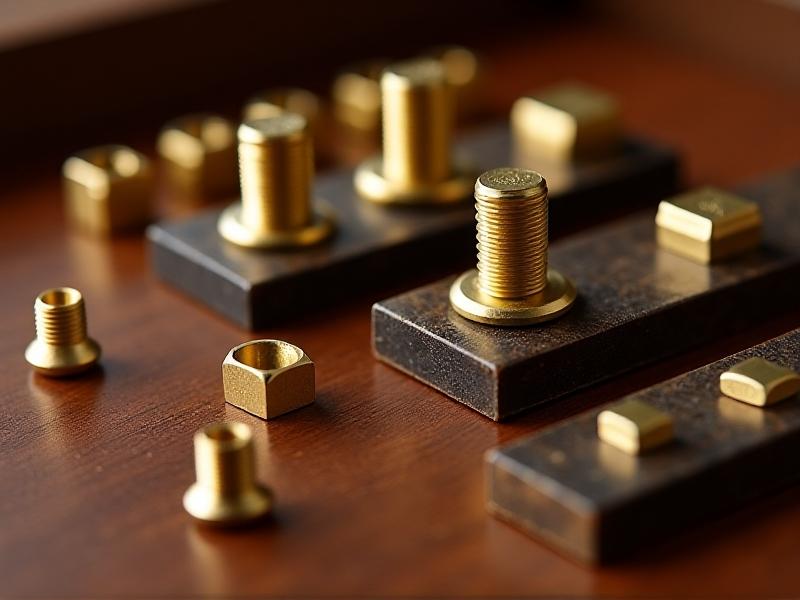
Once extracted, replace old screws with high-quality, corrosion-resistant alternatives. Match thread size and length to avoid wood splitting. Apply beeswax or bar soap to lubricate threads before insertion. Use screwdrivers that fit snugly—no “close enough” sizes. For frequently adjusted pieces, consider threaded inserts for durability. Remember: Over-tightening strains both screw and wood; stop when resistance feels firm.
Creative Alternatives When All Else Fails
If extraction isn’t feasible, pivot creatively. Drill out the screw entirely, fill the hole with dowel and wood glue, then redrill for a new fastener. For decorative hardware, epoxy a new knob or pull over the stubborn screw. Invisible fixes: Chisel a shallow recess around the screw, snap it off with pliers, and conceal the area with a veneer patch. Embrace imperfections—sometimes a visible brass screw adds character to a century-old piece.
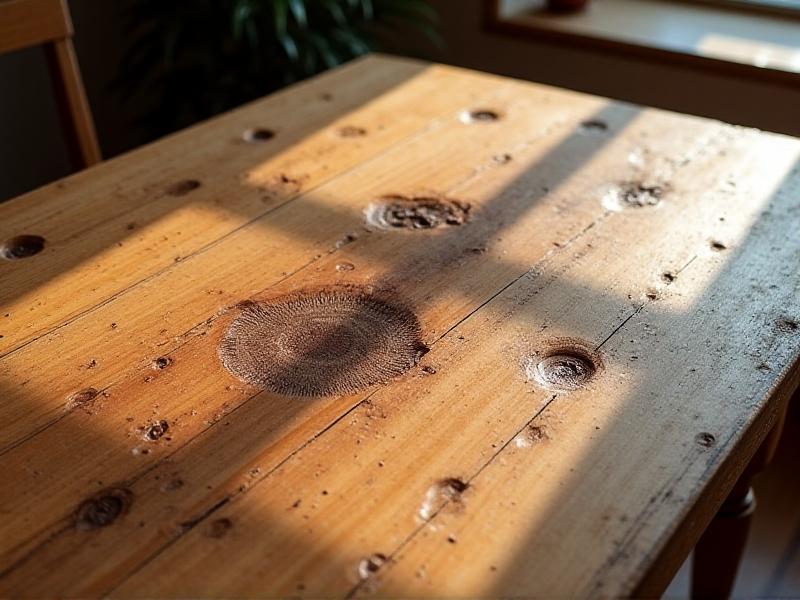
Restoring Furniture Post-Repair
After addressing screws, revive the furniture’s aesthetics. Sand repaired areas gently, blending new and old wood. Stain or paint to match the original finish. Apply paste wax to protect surfaces without glossy buildup. For hardware, polish brass with lemon juice and salt, or oxidize new screws with vinegar for an aged look. Finally, admire your work: a rescued piece with stories to tell.