Upholstery Triage: Assessment and First Steps for Beginners
Understanding Upholstery Triage: A Beginner's Primer
Upholstery triage is the process of evaluating a piece of furniture to determine its condition, prioritize repairs, and decide on the best course of action. For beginners, this starts with a mindful inspection. Look beyond surface stains or faded fabric—examine structural integrity, spring systems, and foam cushioning. Is the frame wobbly? Are seams splitting? These questions guide your initial assessment. Triage isn’t about perfection; it’s about stabilization and preventing further deterioration while planning next steps.

The Initial Assessment: Evaluating Condition and Damage
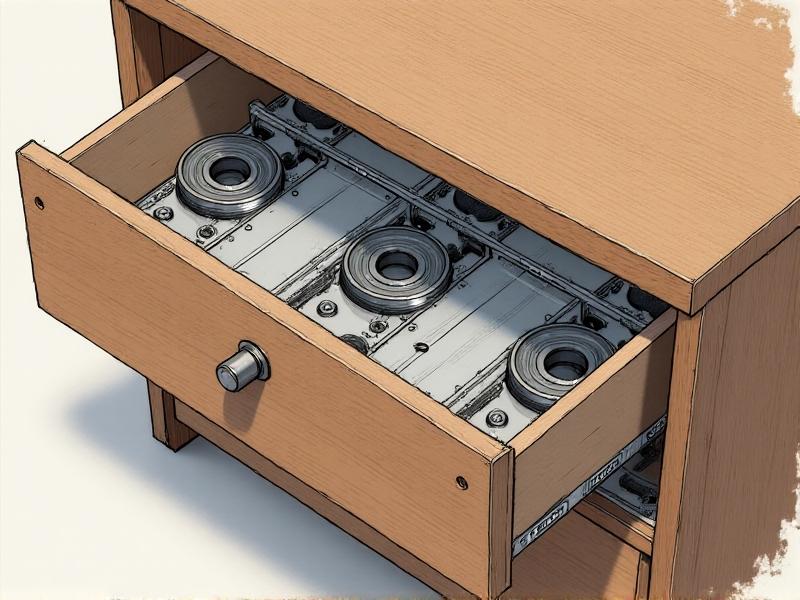
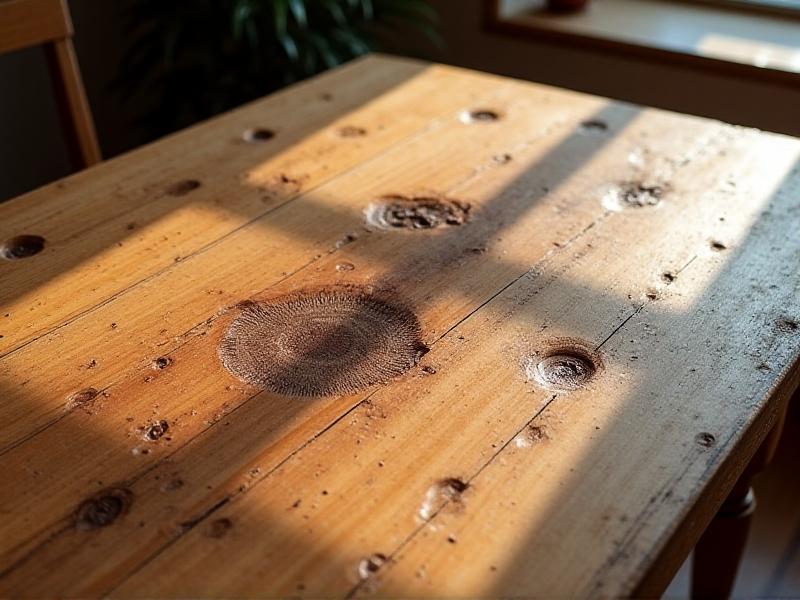
Begin by documenting visible issues: tears, stains, sagging cushions, or loose joints. Flip the piece over to inspect the underside—check webbing, springs, and staples. Probe padding with your fingers to test for crumbling foam or uneven stuffing. Note odors, which may indicate mold or pet damage. Create a checklist categorizing issues as structural, cosmetic, or hygienic. This systematic approach helps avoid overwhelm and clarifies where to focus first.

Essential Tools Every Beginner Should Have
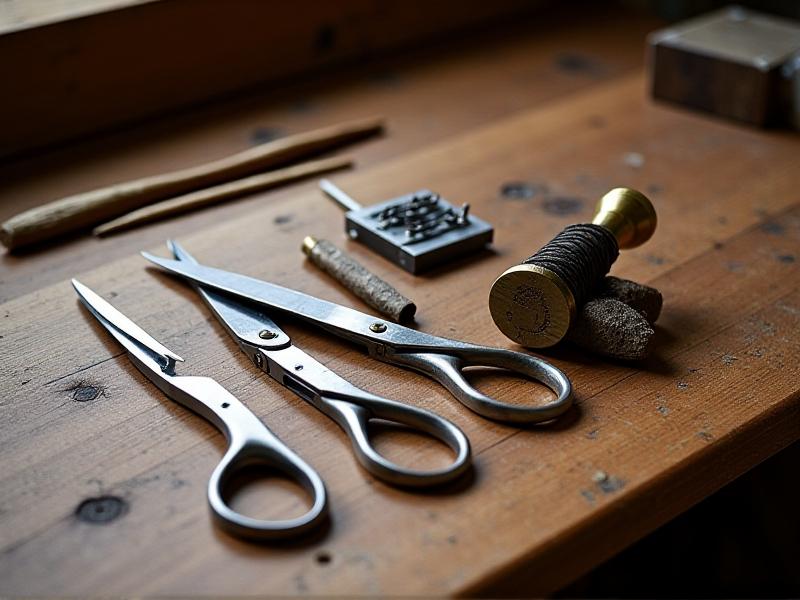
A basic toolkit simplifies early projects. Start with stainless steel scissors for precise fabric cuts, a manual staple gun for reattaching fabric, and a tack hammer for securing nails. Curved needles and heavy-duty thread address loose seams, while a rubber mallet helps adjust frames without damaging wood. Include a flashlight for inspecting dark corners and a digital camera to track progress. Quality tools reduce frustration and ensure safer, cleaner repairs.
Identifying Fabric Types and Their Vulnerabilities
Fabrics dictate care strategies. Natural fibers like cotton and linen are breathable but prone to shrinking and staining. Synthetics like polyester resist fading but may melt under high heat. Velvet shows pressure marks, while leather cracks if dehydrated. Check care tags or test a hidden area with water to gauge absorbency. Matching cleaning methods to material prevents disasters—for example, avoiding steam on untreated wood frames.
Deciding Between Cleaning, Repair, or Replacement
Minor stains might only need a vinegar solution, while torn seams require restitching. Evaluate cost and effort: reupholstering a chair seat is beginner-friendly; replacing a collapsed spring grid isn’t. Consider sentimental or monetary value—is the piece worth salvaging? If fabric is beyond repair but the structure is sound, replacement becomes viable. Prioritize safety: unstable frames demand immediate attention over cosmetic fixes.
Immediate Actions to Prevent Further Damage
Address urgent issues first. Stabilize loose legs with wood glue, vacuum debris from crevices, and blot fresh spills to prevent setting. Use breathable fabric covers to protect against dust without trapping moisture. For mold, apply a baking soda paste to absorb odors, then consult a professional. Temporary fixes like fabric tape on splits buy time for planning a full repair. Quick interventions extend the piece’s lifespan while you develop skills.
Simple Repairs You Can Tackle at Home
Reattach loose trim with a curved needle and thread, or secure sagging fabric using a staple gun. Replace missing buttons by threading them through existing tufting holes. Apply iron-on patching to small burns or holes for seamless fixes. Sand and refinish exposed wooden legs with oil-based stain. These low-risk projects build confidence and demonstrate how minor adjustments revitalize a piece without full reupholstery.
Recognizing When DIY Isn't Enough
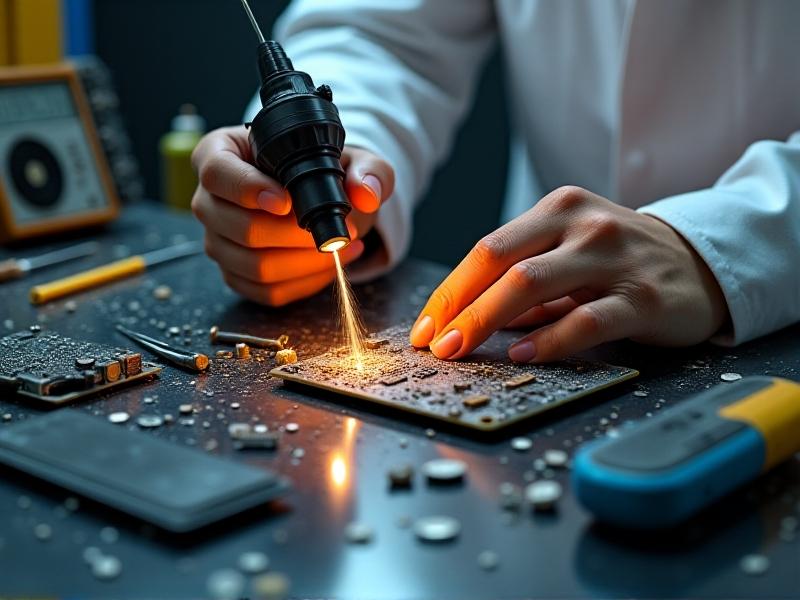
Persistent odors, extensive insect damage, or broken spring units often require specialized tools and expertise. Antique pieces with historical value deserve professional care to preserve authenticity. If foam replacement or reweaving caning feels intimidating, outsourcing ensures longevity. Professionals also handle toxic materials like lead paint safely. Knowing your limits protects both the furniture and your enthusiasm for future projects.
Preserving Your Work: Long-Term Maintenance Tips
Rotate cushions regularly to distribute wear. Vacuum upholstery weekly using a brush attachment to prevent grit from embedding into fibers. Apply fabric protector sprays after cleaning to repel stains. Keep wood polished with beeswax to avoid drying. Address minor issues promptly—tightening a loose screw today prevents a broken frame tomorrow. Consistent care reduces the need for major overhauls and honors the effort of your restoration.
Building Confidence Through Practice Projects
Start small—a dining chair seat or ottoman offers manageable surfaces to hone skills. Document each project with photos to track progress. Join online communities to share challenges and victories. Experiment with thrift store finds to test techniques risk-free. Celebrate imperfections as part of the learning curve. With each successful repair, you’ll develop an eye for detail and the courage to tackle heirloom pieces.