Veneer Revival: Repairing Damaged Surfaces with Pantry Staples
Understanding Veneer and Common Surface Damages
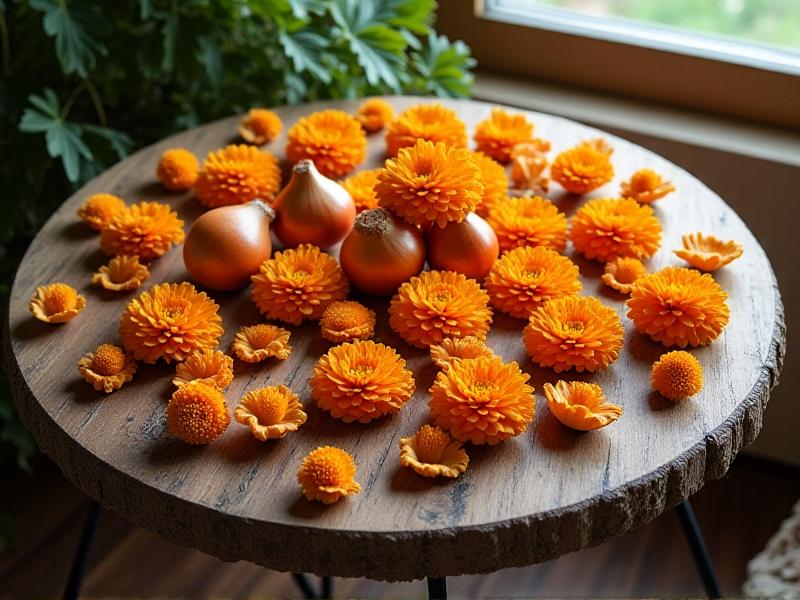
Veneer—a thin layer of wood or laminate bonded to a base material—offers an affordable way to mimic solid wood furniture. However, its delicate surface is prone to scratches, water rings, and peeling edges. Everyday wear, sunlight, and humidity often leave veneer looking tired. While professional repairs exist, many household staples can restore its beauty. This guide explores how pantry items like olive oil, baking soda, and even walnuts can breathe new life into damaged surfaces.
The Science Behind Pantry Staples as Repair Tools
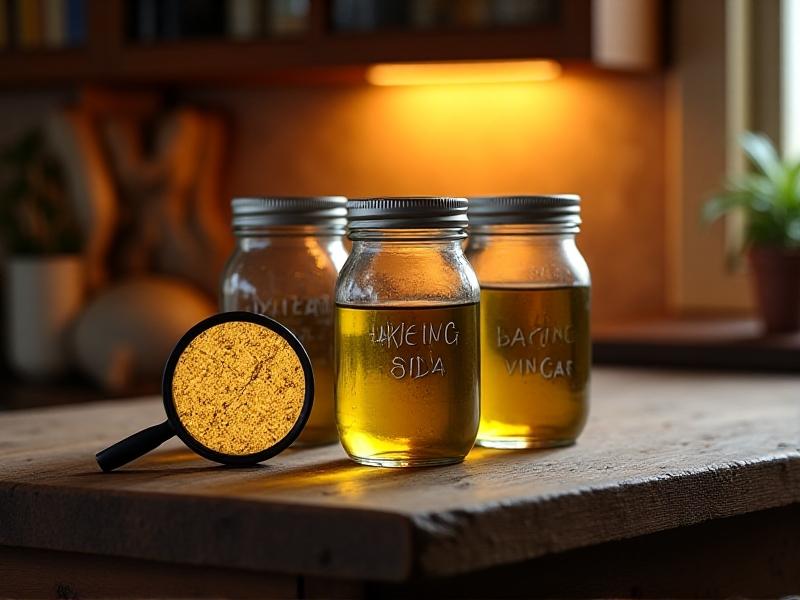
Common kitchen ingredients work for veneer repair due to their physical and chemical properties. Oils penetrate wood fibers to reduce scratch visibility, while mild abrasives like baking soda buff out stains without harsh chemicals. Acids in vinegar dissolve mineral deposits from water rings, and walnuts’ natural oils fill shallow grooves. These methods leverage gentle, non-toxic solutions that align with eco-friendly DIY trends. Understanding how these ingredients interact with wood helps ensure safe, effective repairs.
Step-by-Step: Fixing Scratches with Olive Oil and Vinegar
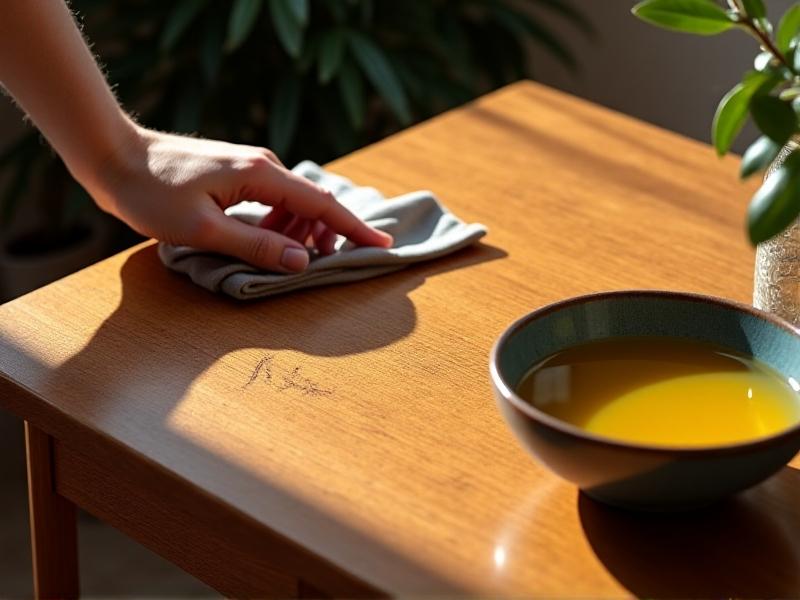
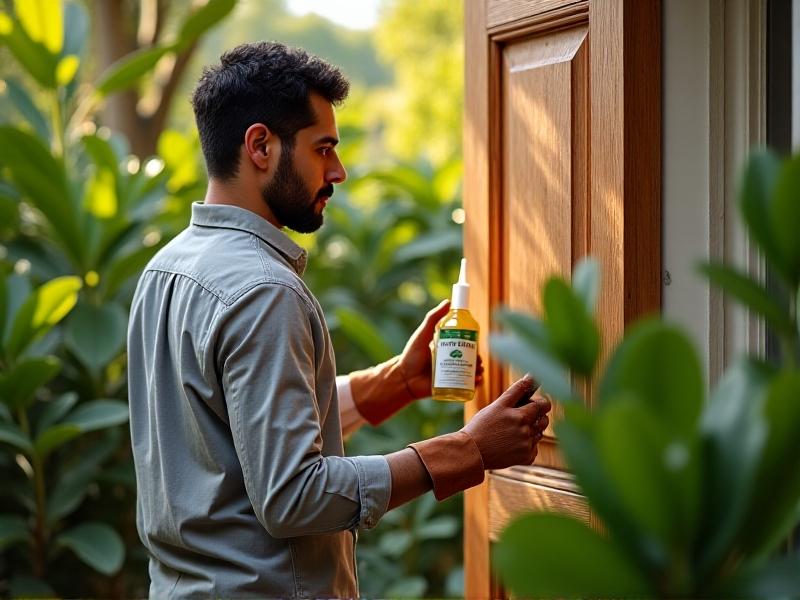
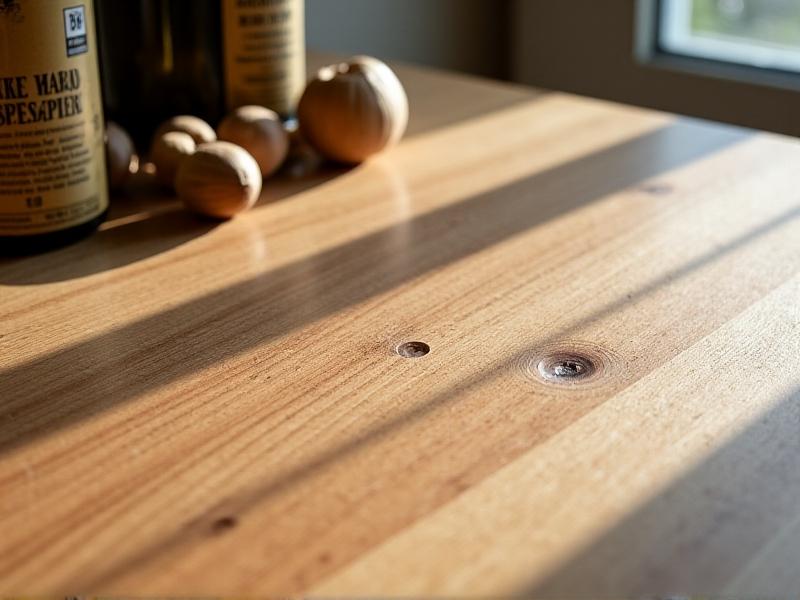
For light scratches, mix equal parts olive oil and white vinegar. Dip a microfiber cloth into the solution and rub along the grain. The oil hydrates dried-out wood fibers, while vinegar cleans residue. Let it sit for 10 minutes, then buff with a dry cloth. Deeper grooves may require a walnut: rub the meat directly into the scratch, letting its oils darken the exposed substrate. Finish with a beeswax polish to seal the area. This method works best on unfinished or oil-finished veneers, avoiding wax buildup on laminated surfaces.
Erasing Water Stains with Baking Soda Paste
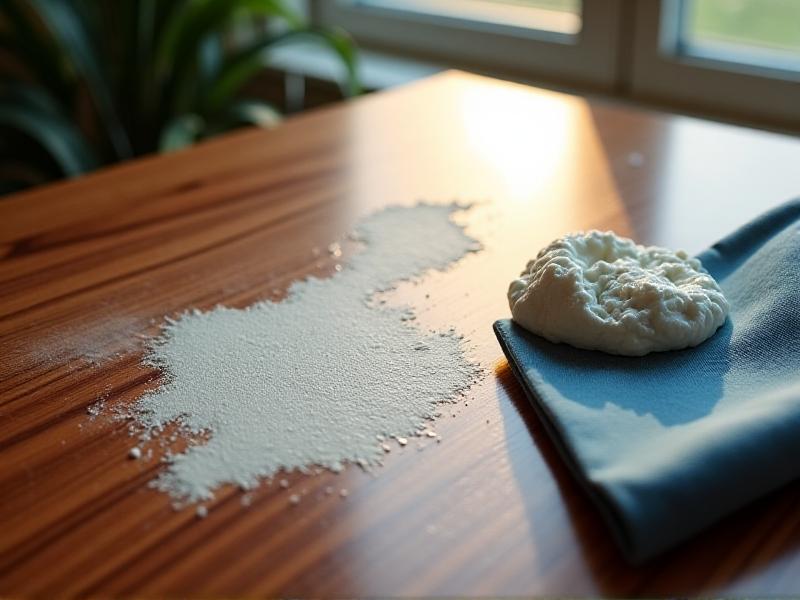
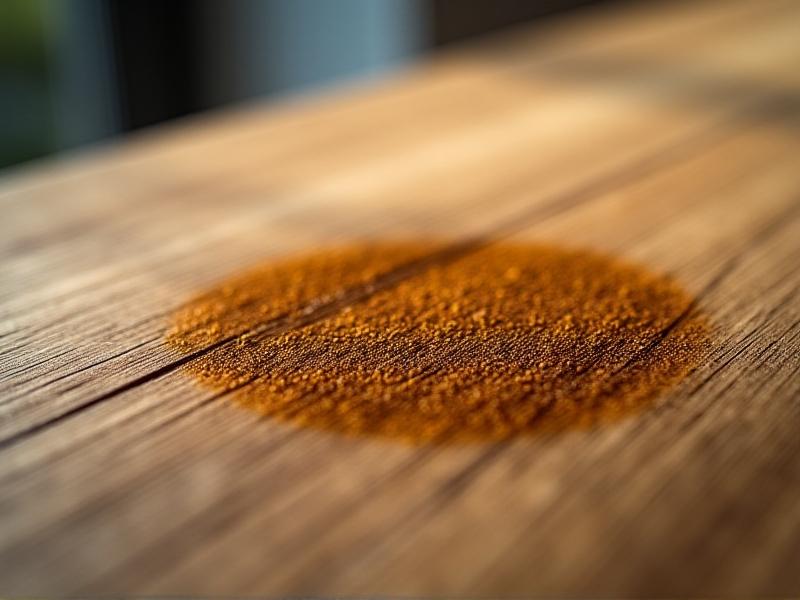
White water rings occur when moisture traps under the finish. Create a paste using baking soda and water, apply it to the stain, and let it dry. Gently scrub with a soft toothbrush, then wipe clean. For stubborn marks, add a few drops of lemon juice to boost acidity. Always test on an inconspicuous area first, as excessive scrubbing can dull the finish. Follow up with a conditioner like coconut oil to restore luster and prevent future damage.
Reviving Faded Veneer with Tea or Coffee Stains
Sun-bleached veneer can regain depth using brewed black tea or coffee. Steep two tea bags in hot water for 15 minutes, then cool. Apply with a sponge, working in sections. The tannins in tea mimic wood’s natural pigments. For darker tones, use espresso. Always apply in thin layers, allowing each coat to dry. Seal with a clear beeswax finish to protect the new color. This technique works wonders on antique pieces where synthetic stains might look unnatural.
Preventing Future Damage: Maintenance Tips
Preserve repaired surfaces by using coasters, avoiding direct sunlight, and maintaining 40-60% humidity. Clean monthly with a damp cloth and mild soap—never abrasive cleaners. Apply furniture wax quarterly to protect against spills. For lifting edges, use a hypoallergenic glue stick and clamp until set. Place felt pads under decorative objects to prevent scratches. These habits extend veneer’s lifespan, reducing the need for frequent repairs.
When to Call a Professional
While pantry fixes work for minor issues, deep gouges, warped panels, or large peeling sections require expert attention. Professionals use heat-activated adhesives and color-matched fillers for seamless repairs. If the base material (like particleboard) is swollen or crumbling, structural reinforcement becomes necessary. Evaluate the damage’s extent—sentimental or high-value pieces often justify professional restoration costs.