Wobbly No More: Structural Reinforcement for Vintage Finds
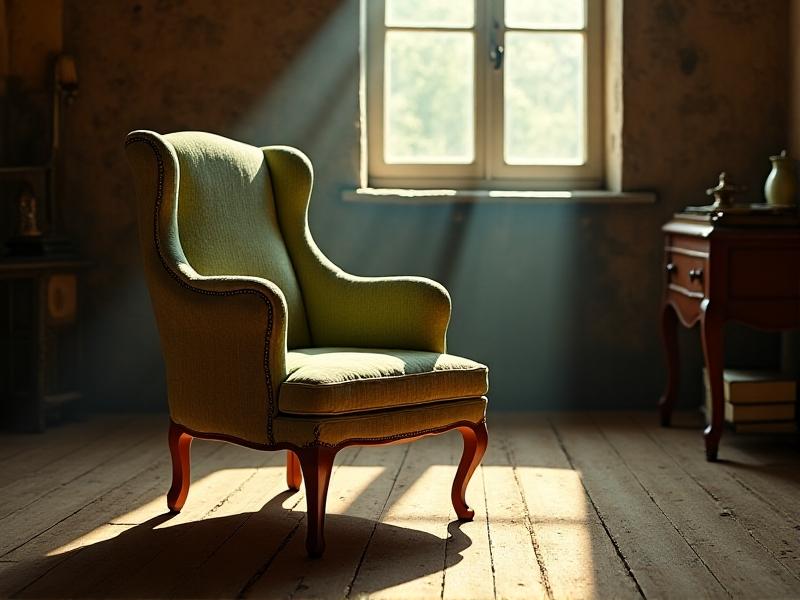
The Allure and Fragility of Vintage Furniture
Vintage furniture carries a unique charm—each scratch, patina, and imperfection tells a story. Yet, these pieces often come with hidden weaknesses: loose joints, cracked wood, or unstable legs. Restoring them isn’t just about preserving aesthetics; it’s about honoring craftsmanship while ensuring functionality. Before diving into repairs, understanding the materials and construction methods of the era is crucial. Mid-century modern pieces, for example, often used dowel joints, while Victorian designs relied on mortise-and-tenon. Recognizing these nuances helps tailor reinforcement strategies that respect the original build.
Assessing Structural Integrity: Where to Begin
Start by examining the piece for visible damage. Wobbling legs, separated joints, or uneven surfaces are red flags. Use gentle pressure to test stability—rock the item side-to-side and listen for creaks. Inspect corners and joints for gaps or old glue residue. For upholstered pieces, remove cushions to check frame condition. Moisture damage, insect activity, or wood rot require immediate attention. Document issues with photos and notes to prioritize repairs. Remember: not all flaws need fixing—some “character marks” can remain if they don’t compromise safety.
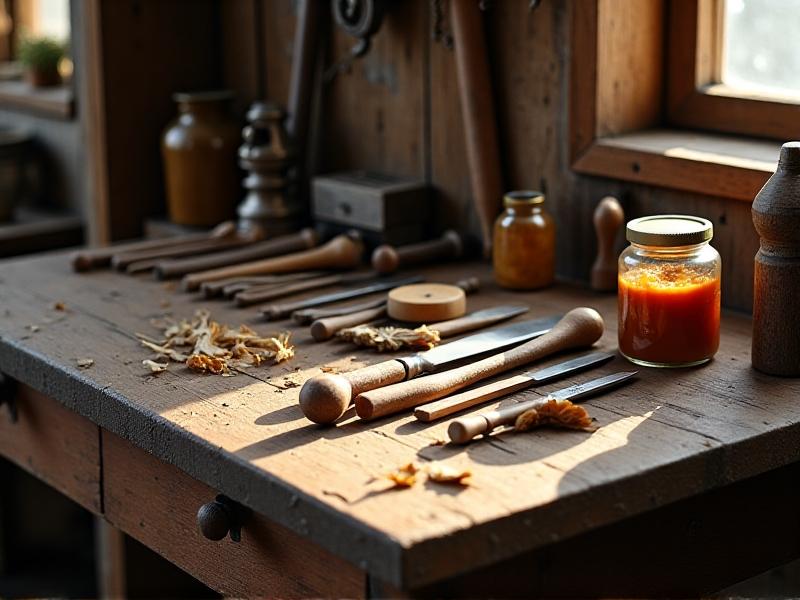
Essential Tools and Materials for Reinforcement
A well-stocked workshop is key. Basic supplies include wood glue, clamps, epoxy fillers, and sandpaper. For advanced repairs, consider corner braces, dowel rods, or metal L-brackets. Hide clamps and band straps help stabilize delicate curves during glue-ups. Choose materials compatible with the original construction: hide glue for antiques, or polyurethane adhesives for modern hybrids. Always test adhesives on inconspicuous areas first. Pro tip: Keep a heat gun handy to soften old glue for disassembly without splintering wood.
Reinventing Joints: From Wobbly to Rock-Solid
Loose joints are the most common issue. For dowel joints, drill out old adhesive, insert new dowels with epoxy, and clamp until set. Mortise-and-tenon joints may need shims—thin wood strips coated in glue—to fill gaps. For severely damaged corners, consider adding a triangular glue block inside the joint. On curved pieces like rocking chairs, wrap joints with waxed twine during curing to maintain alignment. Always allow ample drying time; rushing this stage guarantees future wobbles.
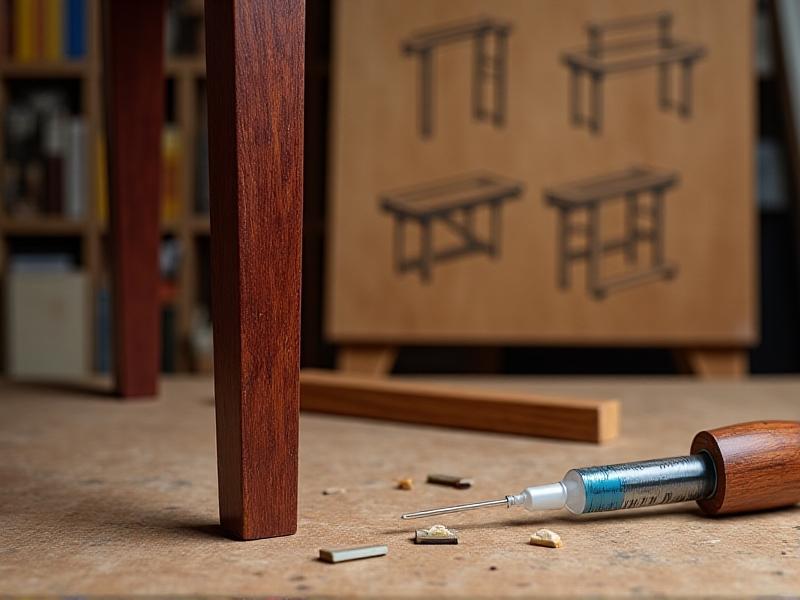
Strengthening Legs and Bases
Uneven legs can often be remedied by sanding the tips—use a level to identify the culprit. For splits, inject glue into cracks and bind with rubber bands or straps. Metal leg braces, discreetly installed inside corners, add invisible support. On cabriole legs, drill a vertical hole through the base and insert a threaded rod embedded in epoxy. For tripod tables, ensure the central column is securely anchored to the top with a cross-shaped bracket.
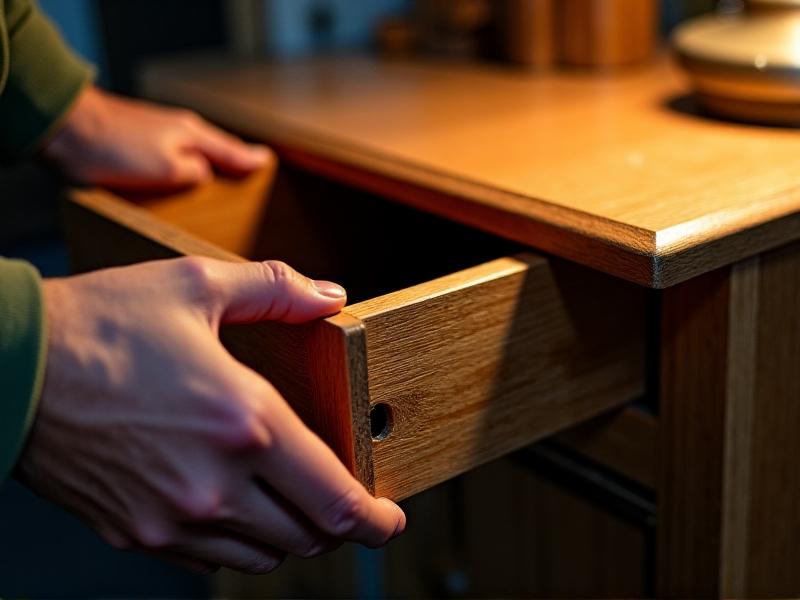
Drawer Dilemmas: Fixing Slides and Runners
Sticky drawers? Rub paraffin wax on wooden runners. For broken slides, replace them with hardwood strips cut to match the original profile. Metal center guides can be retrofitted using existing screw holes to maintain authenticity. If a drawer tilts, check the carcase for squareness—a twisted frame may need diagonal bracing. For dovetail joints pulling apart, disassemble the drawer, clean old glue, and reassemble with slow-setting epoxy.
Balancing Aesthetics and Functionality
Reinforcements shouldn’t detract from the piece’s character. Hide metal brackets behind trim or paint them to match. Use wood filler tinted with artist’s pigments to blend repairs. For upholstered items, replace deteriorated springs with hand-tied alternatives while preserving original fabric where possible. When patching veneer, source reclaimed sheets from donor furniture to maintain grain consistency. The goal is seamless integration—repairs that feel inherent to the piece’s history.
Preserving Your Work: Long-Term Care Tips
Once restored, protect your piece from humidity swings with a silicone-based wax. Tighten hardware annually using thread-locking adhesive. Avoid placing heavy items on reinforced joints until fully cured (up to a month for hide glue). For painted finishes, apply a topcoat of milk paint sealant. Regularly inspect for new stress points, especially in high-use areas. With care, your reinforced vintage find will bridge generations—sturdy enough for daily use, yet rich with stories of its past.